Extend the Growing Season with Hoops and Covers

As winter approaches, maintaining a thriving garden can become a challenge, especially in colder climates. Using hoops and fabric covers in your polytunnel offers an effective solution to extend your growing season and protect your plants from harsh weather conditions. These structures create a microclimate that retains warmth and reduces frost exposure, while also enhancing humidity levels, which is beneficial for many winter crops. By investing in this simple yet powerful setup, you can ensure your plants remain healthy and productive throughout the winter months. In the following steps, we will guide you on how to cut the hoops to length, install clips, and lay the fabric over the top.
Measure and Cut the Hoops
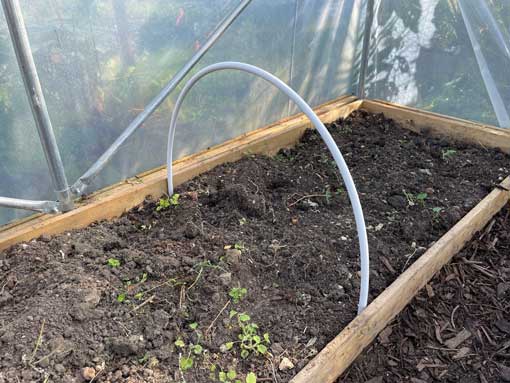
1. Cut a length of the pipe to an estimated length and loosely place this into the bed pressing the ends down into the soil until they are the same depth as the edges of the bed sides.
The curve of the hoop should be set high enough to accommodate the largest height crop you intend to grow in the bed.
Remove the hoop and measure the length required.

2. Mark this length for the all the remaining hoops.
3. Cut each hoop section length.
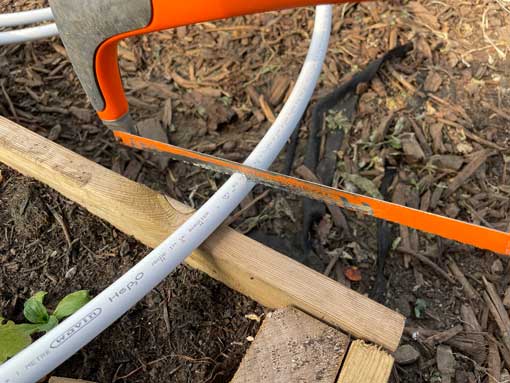
Fit Hoop Clips
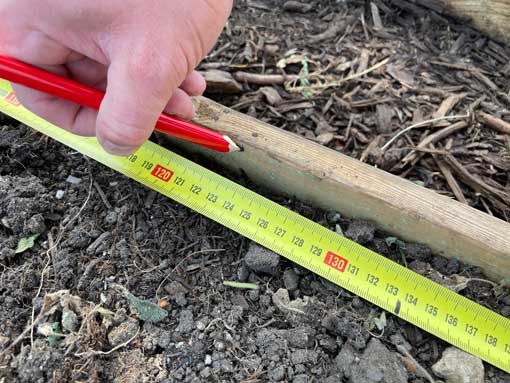
1. Measure and mark each position you want to place a hoop across the length of the bed.
2. Hold a hoop clip in position and mark the centre hole. A minimum distance of 10 to 15mm from the top image is recommended.
Note: You may need to dig some of the existing soil away to gain access to the inside egde of the bed.
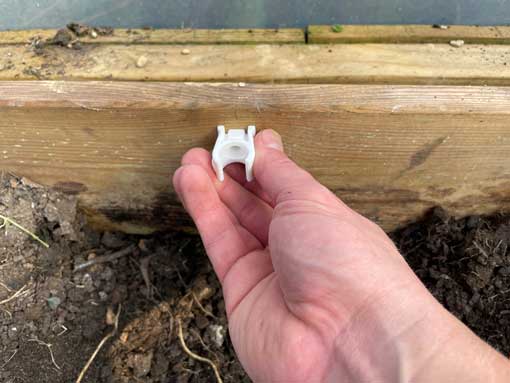
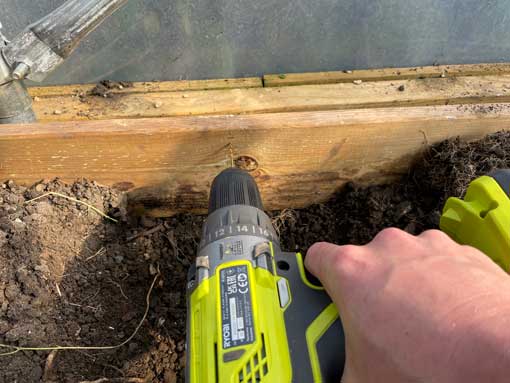
3. Drill a pilot hole for the clip screw using a 2mm drill bit and cordless drill.
4. Screw the clip into position.
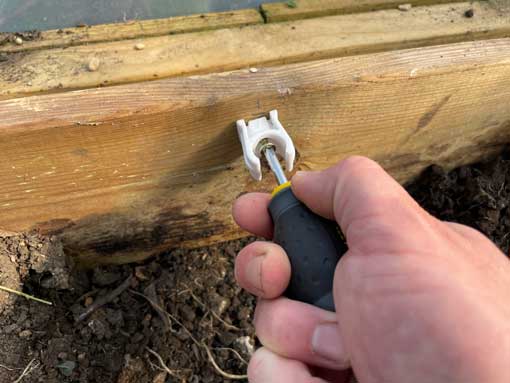
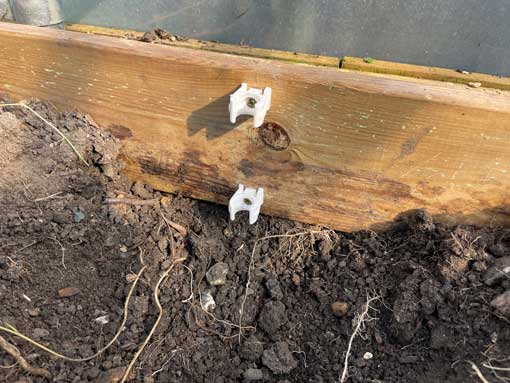
5. Repeat steps 2 to 4 for each clip position.
Tip: Adding an extra clip at each position can create a more secure connection for the hoop, though it may not always be required.
6. Place the hoop in position to check fitment.
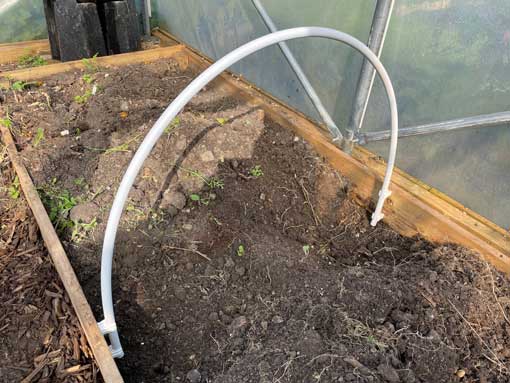
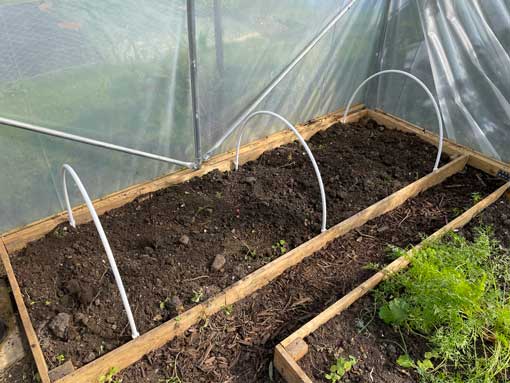
7. Fit all remaining hoops.
Fitting the Fleece Covering
1. Unroll the horticultural fleece and temporarily place over the top of the hoops. Ensure there is enough length at each end to secure this to the ground.
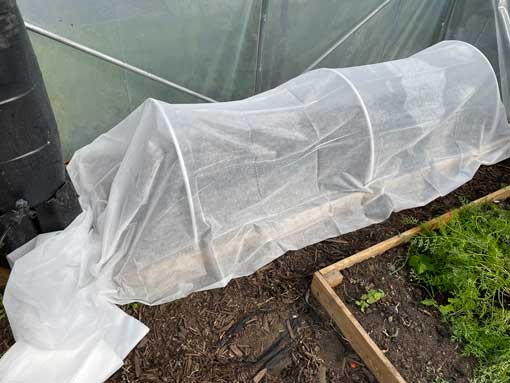
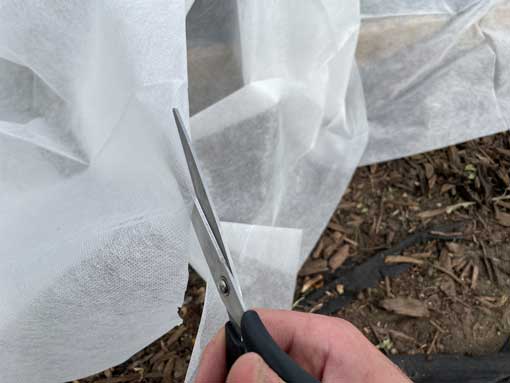
2. Mark and then trim off any excess length. This may also need to be completed across the width of the fleece material.
3. Unroll the horticultural fleece and temporarily place over the top of the hoops. Ensure there is enough length at each end to secure this to the ground.
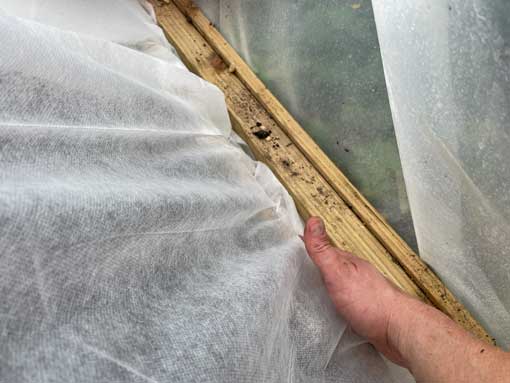
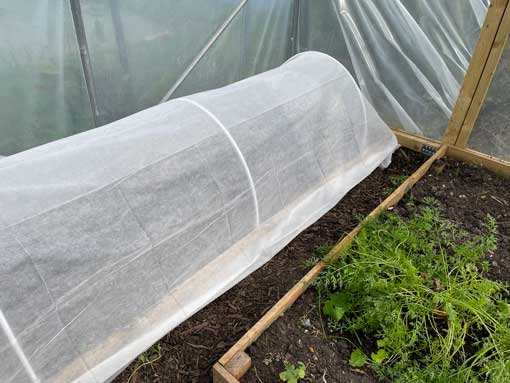
With your raised bed secured by hoops and fleece covers, your polytunnel is now fully equipped to support healthy plant growth throughout the winter months. This setup will provide reliable frost protection and create optimal conditions for cold-weather crops. By taking these proactive measures, you can effectively extend your growing season and ensure continued productivity, regardless of the colder temperatures outside.

