Grow Peas in Guttering: How to Build Your System

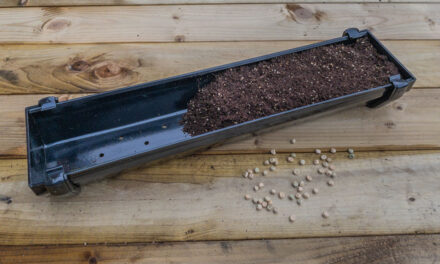
Growing peas in guttering is an innovative and efficient method, ideal for gardeners who want a flexible and organised growing system. This guide will take you through the steps to construct a guttering setup, providing a space-saving solution that’s perfect for small areas like greenhouse benches or sunny windowsills. By following this approach, you’ll have a versatile system tailored to your gardening needs, whether you’re working with limited space or simply looking for a convenient way to get your peas started.
This method offers several advantages:
- Reduces root disturbance: The entire row of pea shoots can be easily slid out when transplanting, minimising stress on the roots and improving success rates.
- Ease of handling: Short lengths of guttering are lightweight and simple to manoeuvre, making the system user-friendly.
- Space efficiency: The slim profile fits neatly into small areas such as greenhouse benches or windowsills.
- Modular design: Guttering is highly adaptable—you can create lengths to suit your space or expand the system as needed.
- Durability: Guttering is reusable season after season, offering both economic and environmental benefits.
- Excellent drainage: The design prevents waterlogging, promoting healthier root systems.
Constructing the Guttering System
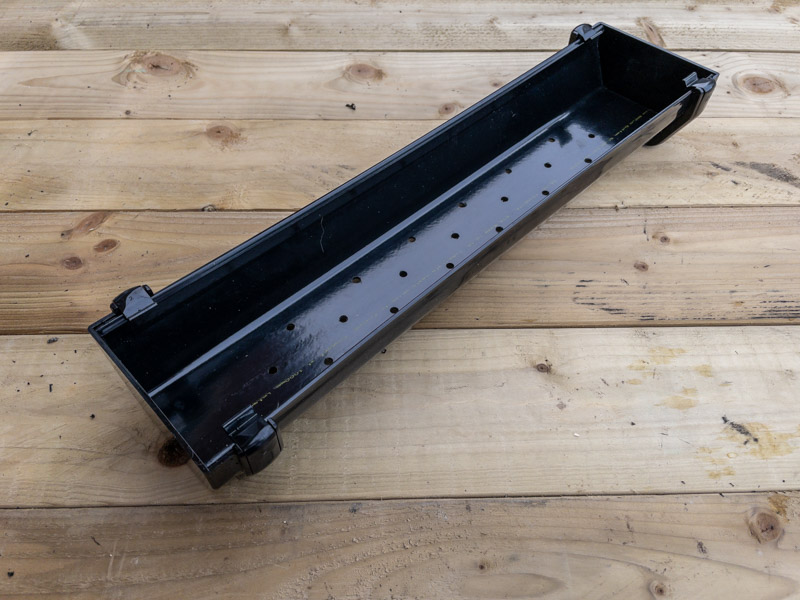
When constructing your guttering system, I recommend using square-profile guttering for its stability on flat surfaces, reducing the risk of tipping. Rounded-profile guttering can also be used; however, you’ll need to implement a stabilising solution to prevent it from rolling or shifting during use.
For this build, we’ll be using standard gutter end caps to seal the ends securely and ensure proper function.
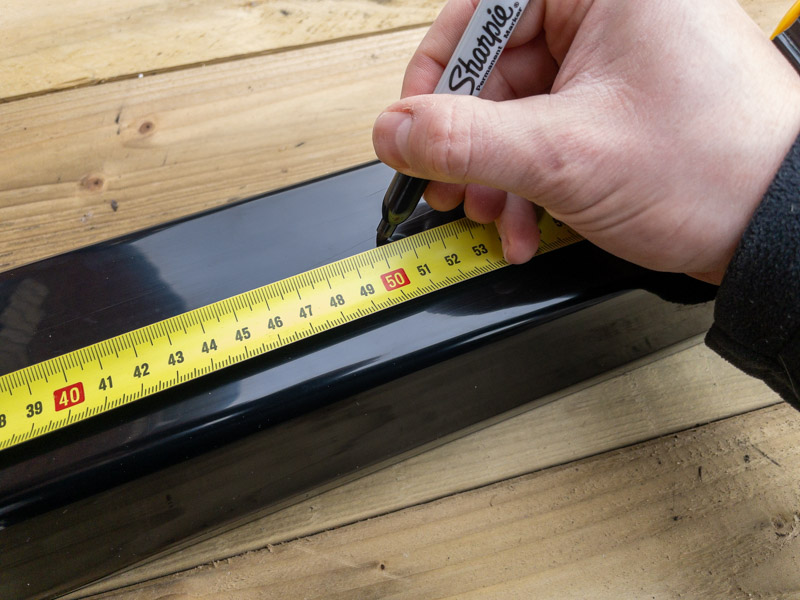
1. Measure and mark the length of guttering to your requirements, considering your available space.
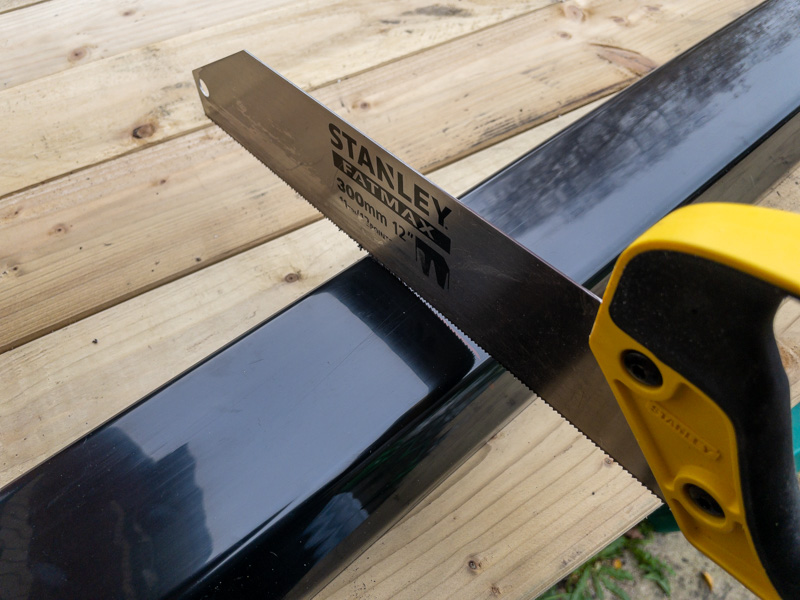
2. Cut the guttering with a plastic-compatible saw.
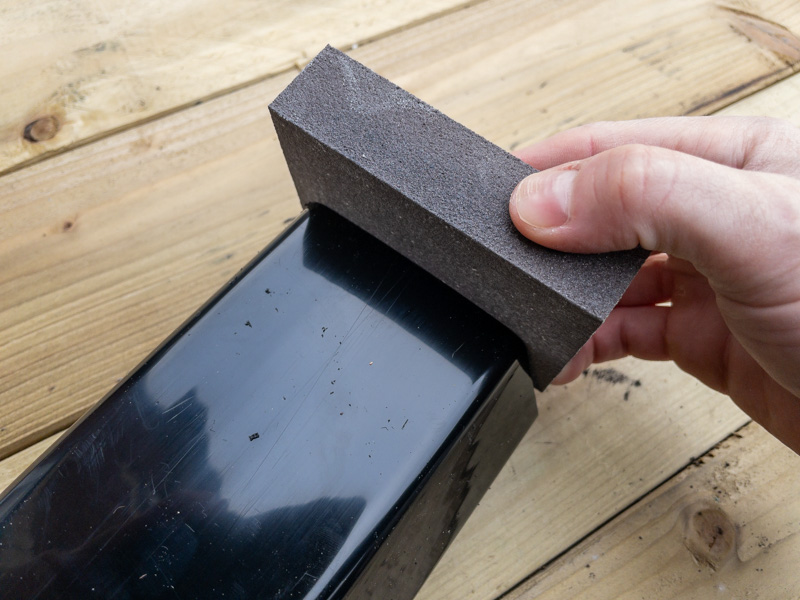
3. Smooth rough edges with sandpaper or a sanding block.
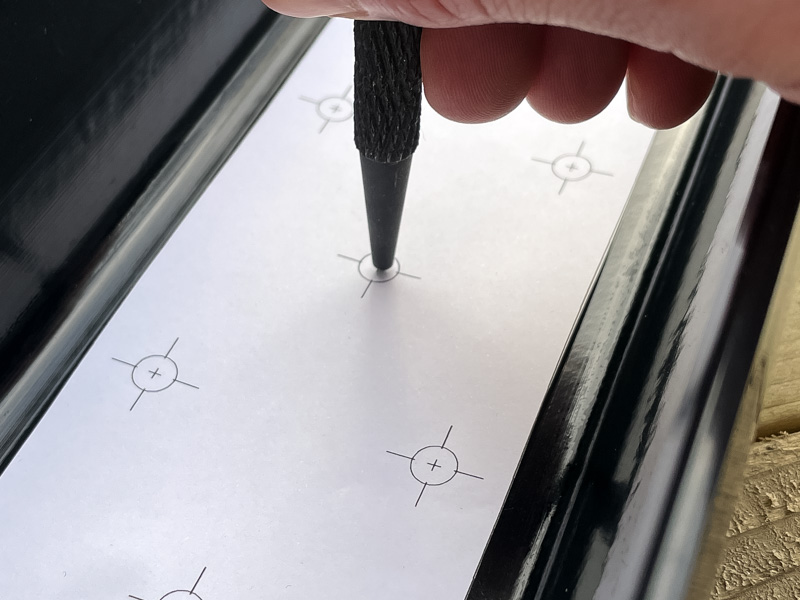
4. Mark evenly spaced drainage holes along the base.
Tip: using a hand-made or computer-designed template can help keep the spacing equal.
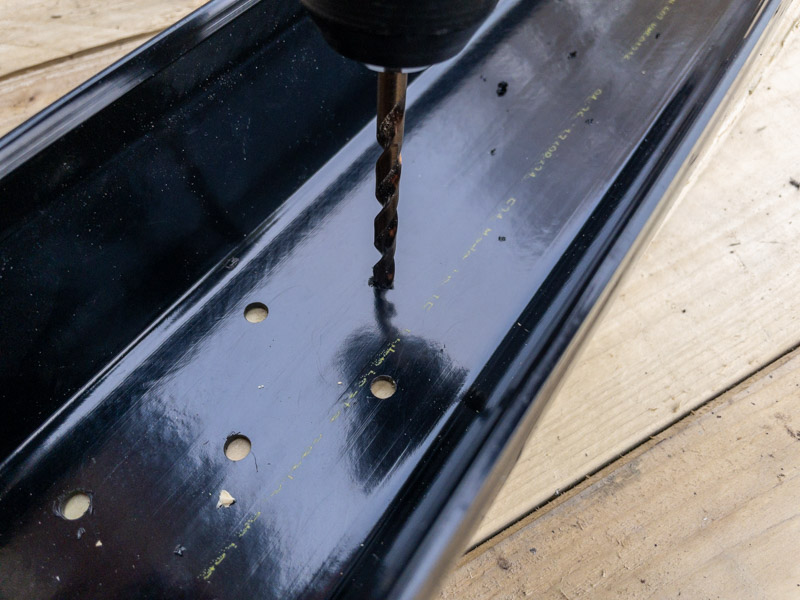
5. Drill the marked drainage holes using a 6mm drill bit.
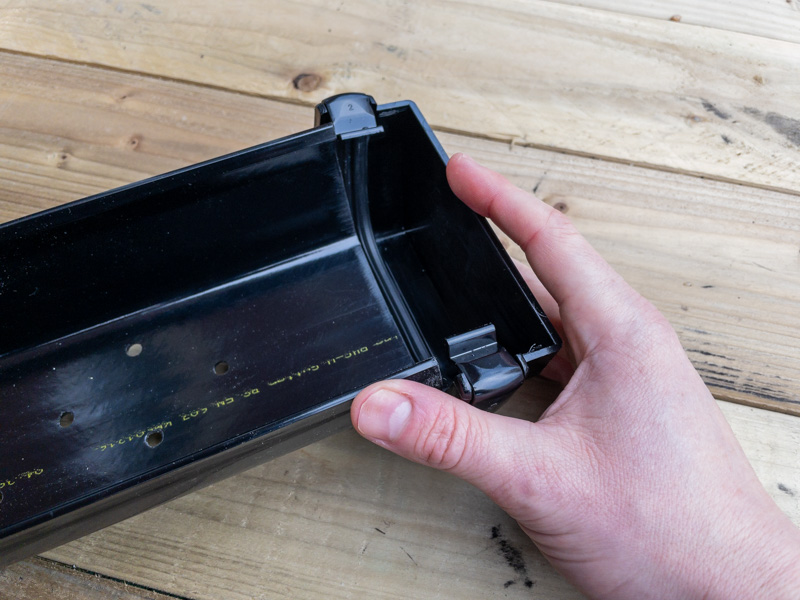
6. Attach the end caps securely.
By building your own guttering system, you’re setting the stage for a productive and efficient way to grow peas, even in limited spaces. With its modular design, ease of handling, and numerous benefits, this method is a versatile solution for gardeners.

